Difference between revisions of "ORBIGate Manual Install"
| Line 2: | Line 2: | ||
===Download=== | ===Download=== | ||
Download Last Version of [https:// | Download Last Version of [https://my.oros.com/categories/software/orbigate/ ORBIGate V7.2]. | ||
===Equipment required for the installation=== | ===Equipment required for the installation=== | ||
Revision as of 14:27, 8 December 2023
Installation
Download
Download Last Version of ORBIGate V7.2.
Equipment required for the installation
USB drive containing ORBIGate software installation setup “Setup.exe”.
NVGate software must have been installed first.
Installation of NVGate software
First you need to install NVGate.
Installation of ORBIGate software
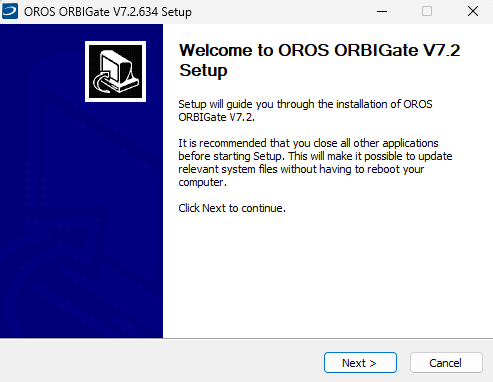
Run " Setup.exe" program, and the following window is displayed:
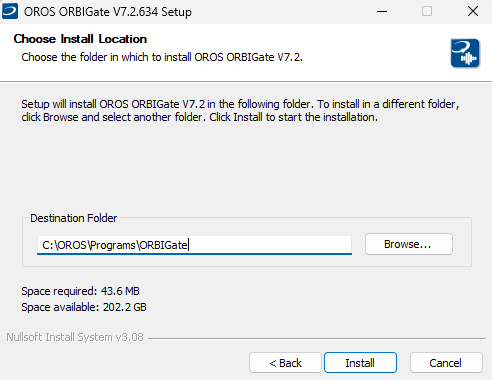
Click on “Next”, and the following window is displayed:
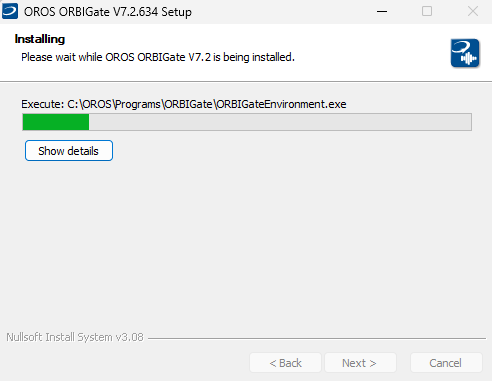
Select the installation directory. It is highly recommended to keep the default location: C:\OROS\Programs\ORBIGate. Click on “Install”, and the following window is displayed:
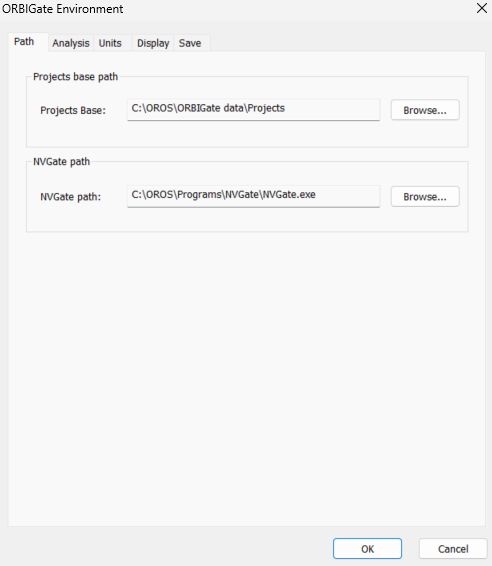
The installation pauses to let the user specify the directory of NVGate as well as the ORBIGate project base. By default, the project base path is C:\OROS\ORBIGate data\Projects:
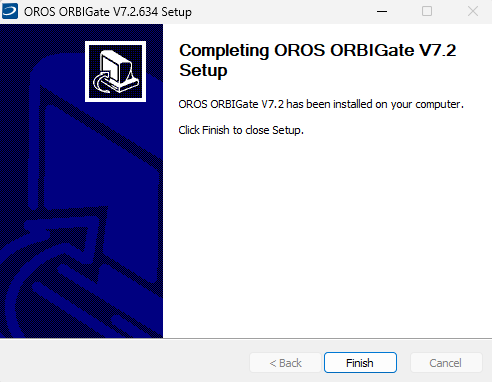
Click on “OK” and wait until the following window is displayed:
Click on “Finish” to exit the setup wizard, and OROS ORBIGate software is successfully installed.
NOTE: Before launching the software, please plug OROS USB dongle if your license is dongle locked, or connect the PC to the analyzer and launch NVGate in the connected mode if your license is instrument locked.
