Difference between revisions of "Balancing single/dual plane Install"
m (English edits) |
|||
| Line 2: | Line 2: | ||
==How to install the single/dual plane balancing module== | ==How to install the single/dual plane balancing module== | ||
=== | ===Download=== | ||
Download [https://orossas.sharepoint.com/:u:/g/support/EScm4sTdOXxBrm_uoBz9J80BbLhATFw9Gcuf09p9Tt4DWw?e=A71TbI here V5.00 build 0043] | |||
Download | ===Equipment required for the installation=== | ||
USB drive containing Balancing software installation setup “Setup.exe”. | |||
NVGate software must have been installed first. | |||
A dongle dedicated to OROS Balancing software (in case of ORNVS-BAL-FL). | |||
===Installation of NVGate software=== | |||
First you need to [[NVGate_2021:_Install_Process|install NVGate]]. | |||
===Installation of Single/Dual Plane Balancing software=== | |||
Run " Setup.exe" program from the USB drive, and the following window is displayed: | |||
[[File:image_2021-05-17_104318.png|400px]] | |||
Click on “OK”, and the following window is displayed: | |||
[[File:image_2021-05-17_104342.png|400px]] | |||
Select the installation directory. It is highly recommended to keep the default location: C:\OROS\Programs\Balancing. | |||
Click on the icon, and the following window is displayed: | |||
[[File:image_2021-05-17_104518.png|400px]] | |||
Select the location of the shortcut in the Windows Start menu, and then click on “Continue” to start the installation, and wait until the following window is displayed: | |||
[[File:image_2021-05-17_104543.png|400px]] | |||
Click on “OK” to exit the setup wizard, and OROS Balancing software is successfully installed. | |||
===Software licensing=== | ===Software licensing=== | ||
Revision as of 09:46, 17 May 2021
How to install the single/dual plane balancing module
Download
Download here V5.00 build 0043
Equipment required for the installation
USB drive containing Balancing software installation setup “Setup.exe”.
NVGate software must have been installed first.
A dongle dedicated to OROS Balancing software (in case of ORNVS-BAL-FL).
Installation of NVGate software
First you need to install NVGate.
Installation of Single/Dual Plane Balancing software
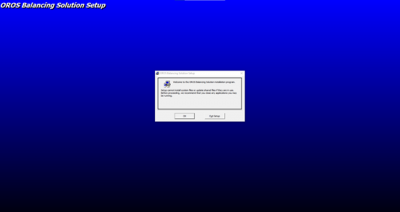
Run " Setup.exe" program from the USB drive, and the following window is displayed:
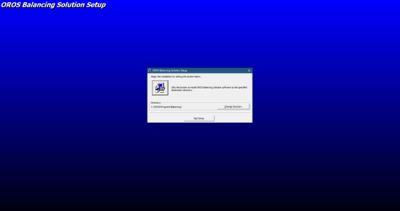
Click on “OK”, and the following window is displayed:
Select the installation directory. It is highly recommended to keep the default location: C:\OROS\Programs\Balancing.
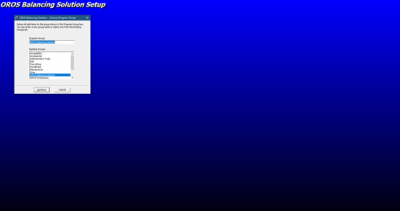
Click on the icon, and the following window is displayed:
Select the location of the shortcut in the Windows Start menu, and then click on “Continue” to start the installation, and wait until the following window is displayed:
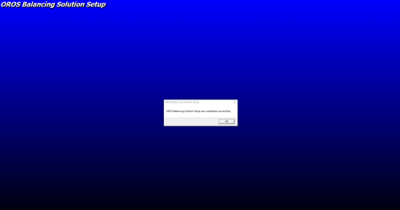
Click on “OK” to exit the setup wizard, and OROS Balancing software is successfully installed.
Software licensing
Standard license: ORNVS-BAL-ST
If you are using a standard license, the OROS hardware (OROS 3-Series analyzers) is used to open the software operation. Your selected OROS analyzer should be connected when using the balancing solution.
For the standard license, your hardware keys should be updated. If this is the case, use the delivered CD to update your hardware key. For details about this procedure, refer to your Analyzer installation guide.
Floating license: ORNVS-BAL-FL
If you are using a floating license, you should plug your USB balancing dongle when using the software (online or offline). The floating license will allow you to use your balancing software on any of your analyzers.
For the floating license, updating your hardware keys may be required. If it the case, use the delivered CD to update your hardware key. For details about this procedure, refer to your Analyzer installation guide.
Software installation
In order to install the OROS Balancing solution, start the setup.exe from the CD-ROM. Then, follow the installation procedure as described below:
The following screen will appear: Press OK to continue the installation.
Installation procedure start
The software installation proposes you to choose your installation directory based on the following window. If the default directory is satisfying, press the icon showing a computer.
Installation directory selection
At the next stage, you can choose the position of the shortcut in the Windows START menu. If the default path is satisfying press continue.
Start Menu path selection
The installation process is now finished. You can now press OK from the following dialog box.
Installation process completion
You can now start the Balancing solution from your WINDOWS START Menu.
FAQ
I can't do measurement under 500 RPM.
To resolve this : download this version V5.00 from 31/01/2019. Extract the file and replace the balancing.exe by this one.


