Difference between revisions of "Monitoring Solution"
| Line 217: | Line 217: | ||
====Database management==== | ====Database management==== | ||
MongoDB is the database engine, now we need to create at least one database to be used by OROS Monitoring. | |||
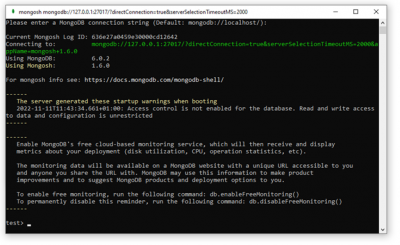
Run M-DBTools.exe, which is installed in M-Logger or M-View folder, and login: | |||
* Server address: Your server address, localhost if database is installed on running PC | |||
* Server port: 27017 (by default, other if you changed it in your MongoDB configuration file) | |||
* User name: Defined in “Create an admin user” chapter | |||
* Password: Defined in “Create an admin user” chapter | |||
[[File:Picture6.png|400px]] | |||
Please note that only administrators are allowed to run this tool, otherwise it will not connect to MongoDB. | |||
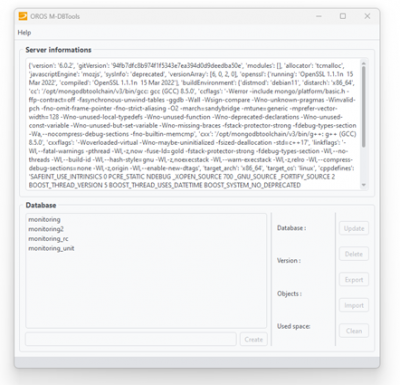
Server information and databases list will be displayed once connected. | |||
[[File:Picture7.png|400px]] | |||
=====Manage databases===== | =====Manage databases===== | ||
Revision as of 17:24, 5 May 2023
Introduction
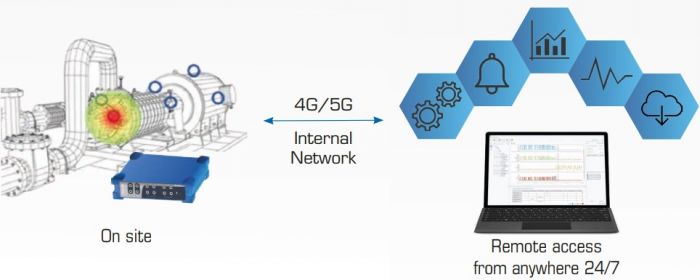
The OROS Monitoring solution can continuously supervise the noise and vibration levels of your critical assets, notifying alerts autonomously when predetermined levels are exceeded and catching real time high added value data on the spot.
This solution is dedicated for mid to long term monitoring application, and the main features are:
- Operate standalone: power cut and restart management
- From basic to advanced event triggering conditions
- Pre-trigger time domain signal recording remotely downloadable for further analysis
- Advanced and flexible actions on events
- Automatic alert notifications for rapid countermeasures
- Database and remote access to event log, trend, and measurement data for initial diagnostics at any time
- Flexible storage capabilities, suitable for site with or without a network connection
Installation
Download
Download last version of Monitoring V1.0.
Equipment required for the installation
USB drive containing Monitoring software installation setups “SetupM-Logger.exe” and "SetupM-View.exe".
NVGate software must have been installed first (from V16.00.002).
Installation of NVGate software
First you need to install NVGate.
Installation of Monitoring software
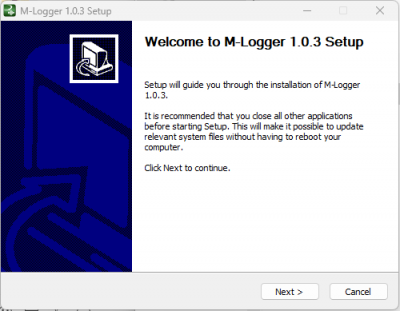
In the PC that is connected to OROS analyzer, run “SetupM-Logger.exe” program, and the following window is displayed:
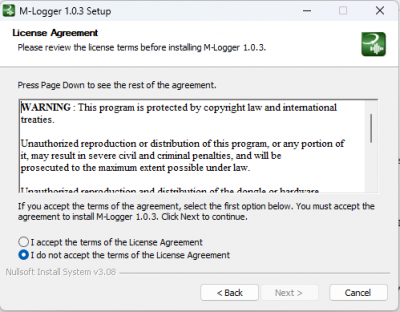
Click on “Next”, and the following window is displayed:
Read the terms in the license agreement and check “I accept the terms in the License Agreement” if you agree. Click on “Next”, the following window is displayed:
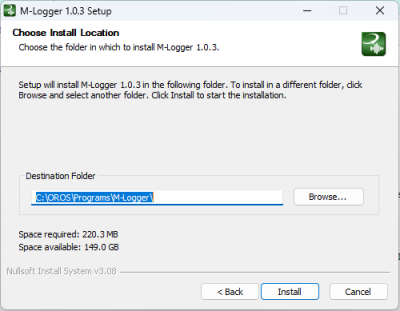
Select the installation directory. It is highly recommended to keep the default location: C:\OROS\Programs\M-Logger. Click on “Install” to start the installation, and wait until the following window is displayed:
Click on “Next”, the following window is displayed:
Click on “Finish” to exit the setup wizard, and OROS M-Logger software is successfully installed.
The drivers for the Autonomy kit are installed during the default installation.
In order to ensure an autonomous monitoring, it is necessary that both the PC and M-Logger application are able to be automatically restarted. To allow that, create a shortcut of the Monitoring application into the windows startup directory (C:\Users\USERNAME\AppData\Roaming\Microsoft\Windows\Start Menu\Programs\Startup). The M-Logger application will restart NVGate if it is not already running.
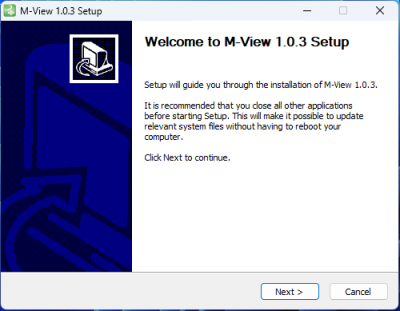
Next, run “SetupM-View.exe” program in the PC which is used for checking collected data, and the following window is displayed:
Click on “Next”, and the following window is displayed:
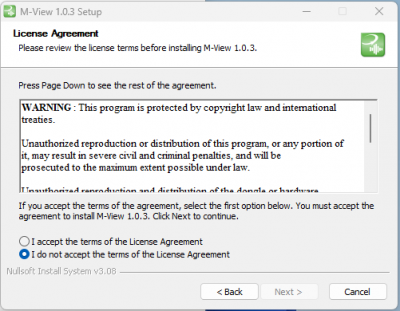
Read the terms in the license agreement and check “I accept the terms in the License Agreement” if you agree. Click on “Next”, the following window is displayed:
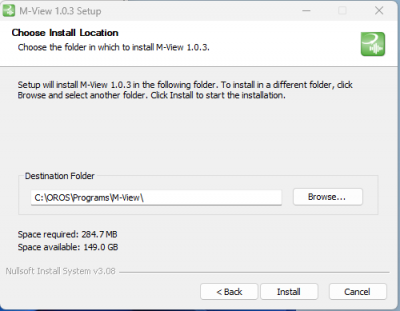
Select the installation directory. It is highly recommended to keep the default location: C:\OROS\Programs\M-View. Click on “Install” to start the installation, and wait until the following window is displayed:
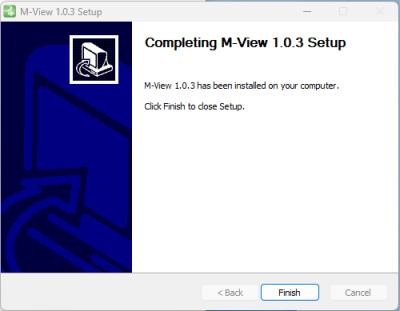
Click on “Finish” to exit the setup wizard, and OROS M-View software is successfully installed.
Autonomy kit installation (optional)
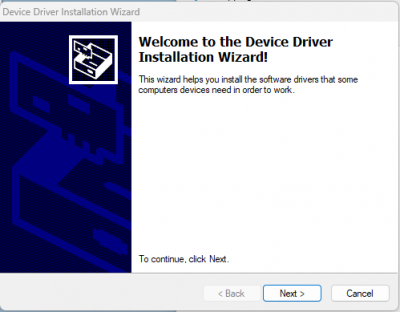
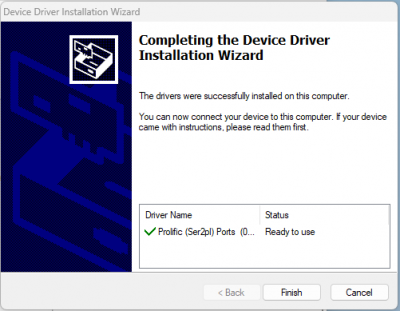
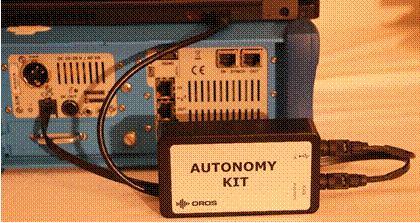
The autonomy kit must be plugged to the analyzer's RJ11 port and to the PC USB port, and drivers should be installed. Drivers are installed automatically during the installation of M-Logger, and can also be installed manually in case troubleshooting is necessary.
This autonomy kit is dedicated to OROS analyzers. Do not use it with any other device.
Only use original components provided.
Figure 1 – Autonomy kit installation with OR36
![]() This Autonomy Kit contains electronic equipment. It should not be mixed with general household waste. For proper treatment, return this product to OROS or to any local company authorized to recycle waste electrical and electronic equipment.
This Autonomy Kit contains electronic equipment. It should not be mixed with general household waste. For proper treatment, return this product to OROS or to any local company authorized to recycle waste electrical and electronic equipment.
 This Autonomy Kit complies with following European Standards:
- 2014/35/EU low voltage directive
- 2011/65/EU and 2015/863 ROHS directive
- 2012/19/EU WEEE directive
Database installation and management
Database installation
MongoDB is a document-oriented NoSQL database used for high volume data storage and used by OROS Monitoring. OROS Monitoring solution is compatible with MongoDB 6.0.x only. MongoDB can be installed on different platform, and following instructions explain how to install it on Windows or Linux system.
Installation on Windows system
a. Pre-requisites MongoDB support these Windows versions :
- Windows 10 et 11 64 bits
- Windows Server 2016, 2019, 2021 64bits
Download installation files:
- MongoDB: https://fastdl.mongodb.org/windows/mongodb-windows-x86_64-6.0.5-signed.msi
- Mongosh: https://github.com/mongodb-js/mongosh/releases/download/v1.8.0/mongosh-1.8.0-x64.msi
b. MongoDB installation
Execute mongodb-windows-x86_64-6.0.5-signed.msi and click on “Complete”:
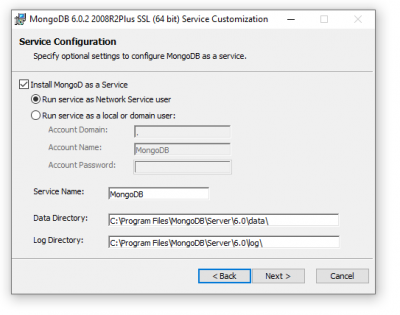
Let default parameters filled:
Install
c. Configure MongoDB
Copy file Windows\mongod.cfg to MongoDB directory "C:\Program Files\MongoDB\Server\6.0\bin\mongod.cfg". It enables compression which is needed for Monitoring. If you want to secure the connection to MongoDB, allowing specific IP address or change port etc., you can edit this file. Documentation is available on official website: https://www.mongodb.com/docs/manual/reference/configuration-options/
d. MongoDB Shell installation
Run mongosh-1.8.0-x64.msi, uncheck “Install just for you” and continue installation.
Run mongosh.exe from "C:\Program Files\mongosh". A command window will popup asking MongoDB information, do not write anything and press Enter, connection should be done:
e. Create an admin user
In the shell windows type: use admin
Then the following command will create an administrator user for MongoDB, which is mandatory. You will be able to create standard ReadOnly or Write access user using Monitoring dedicated M-DBTools.
In this example the admin user created is named “oros” and his password is “oros”, please use a strong password for the admin user:
db.createUser({ user: "oros" , pwd: "oros", roles: ["userAdminAnyDatabase", "dbAdminAnyDatabase", "readWriteAnyDatabase"]})
Restart the computer, and now MongoDB is configured and ready to be used.
Installation on Linux system
Installation on Debian
https://www.mongodb.com/docs/v6.0/tutorial/install-mongodb-on-debian/
https://www.mongodb.com/docs/mongodb-shell/install/
a. Pre-requisites
Packages: gnupg2, wget, sudo, net-tools, curl
b. MongoDB installation
- Add MongoDB server key
wget -qO - https://www.mongodb.org/static/pgp/server-6.0.asc | sudo apt-key add –
- Add MongoDB repository
Debian 11
echo "deb http://repo.mongodb.org/apt/debian bullseye/mongodb-org/6.0 main" | sudo tee /etc/apt/sources.list.d/mongodb-org-6.0.list
Debian 10
echo "deb http://repo.mongodb.org/apt/debian buster/mongodb-org/6.0 main" | sudo tee /etc/apt/sources.list.d/mongodb-org-6.0.list
Debian 9
echo "deb http://repo.mongodb.org/apt/debian stretch/mongodb-org/6.0 main" | sudo tee /etc/apt/sources.list.d/mongodb-org-6.0.list.
- Install MongoDB
sudo apt-get update
sudo apt-get install -y mongodb-org
sudo apt-get install -y mongodb-mongosh
c. Configure MongoDB
Copy file from package folder debian/mongod.conf to /etc/mongod.conf. It enables compression which is needed for Monitoring. If you want to secure the connection to MongoDB, allowing specific IP address or change port etc., you can edit this file. Documentation is available on official website: https://www.mongodb.com/docs/manual/reference/configuration-options/
d. Enable MongoDB as a service
systemctl enable mongod.service
e. Create an admin user
mongo
use admin
db.createUser({ user: "oros" , pwd: "oros", roles: ["userAdminAnyDatabase", "dbAdminAnyDatabase", "readWriteAnyDatabase"]})
f. Start MongoDB
sudo systemctl start mongod
Database management
MongoDB is the database engine, now we need to create at least one database to be used by OROS Monitoring.
Run M-DBTools.exe, which is installed in M-Logger or M-View folder, and login:
- Server address: Your server address, localhost if database is installed on running PC
- Server port: 27017 (by default, other if you changed it in your MongoDB configuration file)
- User name: Defined in “Create an admin user” chapter
- Password: Defined in “Create an admin user” chapter
Please note that only administrators are allowed to run this tool, otherwise it will not connect to MongoDB.
Server information and databases list will be displayed once connected.
Manage databases
Manage users
PC and Windows configuration
In order to guarantee a full autonomy, the computer must be configured to reboot in case of any power failure. The following PC parameters are advised:
PC automatic restart due to power failure:
To account for any potential power failure at the analyzers location the following settings should be programmed on the PC to automatically switch on the PC once the power is restored.
Access the PC's BIOS:
- Restart PC, press F12 (on most PC's) to access the PC's Bios.
- Check the Bios parameters.
- On power management check the option "power on AC".
Specific settings should be chosen in the computer
- PC
Contact you IT manager to properly configure the computer : disable low-power sleep mode, no password to automatically restart windows, no low-energy or powering-off option …). In addition, installation of Teamviewer is recommended in order to monitor from a remote access.
If you plan to monitor your application for more than a couple of hours, it is advised to power both the computer and the OROS analyzer by mains (not on battery).
Consider installing a remote access software.
It could be useful to control the computer when an alert is trigged for example.
FAQ
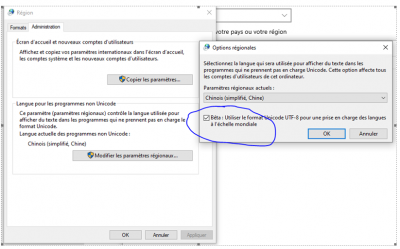
I use microsoft windows on chinese/japanese language. However, monitoring crash when I click on "refresh button". How to solve this ?
On windows regional settings, tab admin, let the unicode program on your language, however click on "beta : use the unicode UTF-8...". This solve the issue.
